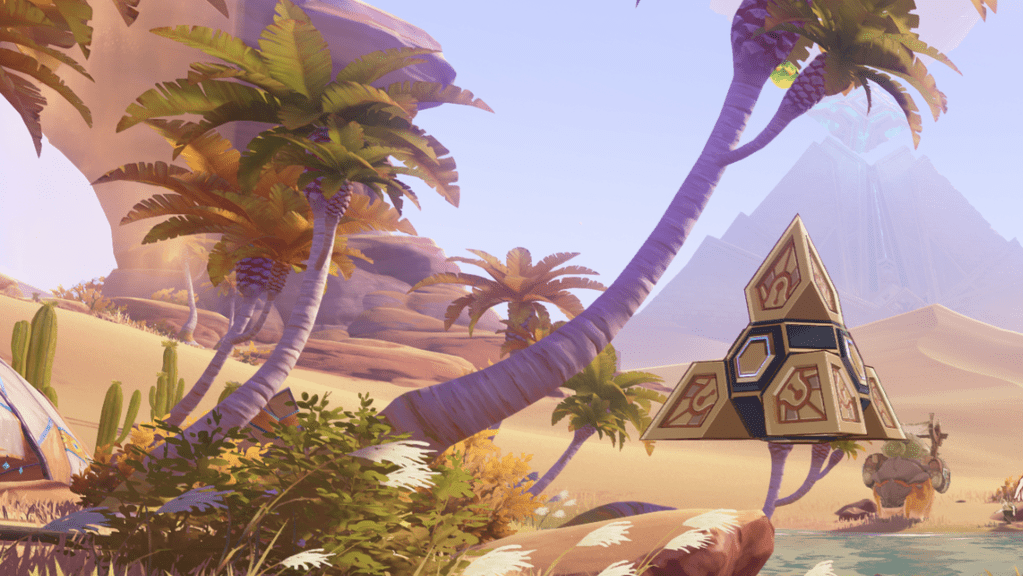
The previous demo has officially hit 1 million views on Bilibili (yay ヾ(≧▽≦*)o). Demo 1 (Bilibili)
Being a very primitive test, it does have some limitations. For instance, not much work was put into the hair and clothes, these parts are largely just plain npr shading.
Recently I’ve made another demo for stylized character rendering similar to Genshin Impact. This addresses some of the problems in the previous demo.
Environment:Unity 2020.3.22f1,URP 10.7.0
Features:
◇ Utilizes facial dynamic shadow map for smooth shadow attenuation w/o normal edit
◇ Ramp texture-based colour blending on shadow edges.
◇ Common NPR effects such as smoothed normals outlines, stylized specular, rim light, etc.
◇ Magica Cloth integration for some nice wind effects.
We now have a quite polished stylized shading on the entire avatar rather than just the face. The facial shader has also received some fixes — the lightmap calculation no longer overcomplicates things.
// Choose original lightmap L (light from left) or flipped lightmap R (light from right).
float LightMap = lerp(surfaceData._lightMapR.r, surfaceData._lightMapL.r, step(RdotL, 0));

// Calculate result.
float litOrShadow = step((-FdotL + 1)) / 2, LightMap);
The SDF lightmap contains shadow distribution data covering 0~180 degrees on one side of the face, rather than 0~90 degrees. The tip of the nose will receive lighting even when directly facing away from the light. This means the lightmap should be appiled on all angles on the xz plane. All we need to do is modify FdotL (i.e. dot product of face forward direction and light direction), standardizing it to [0, 1], equal to the range of a color value.
For more info check out this video: https://www.bilibili.com/video/BV15t4y1V76U
Facial shader is based on UnityURPToonLitShaderExample, and has added support for facial dynamic shadow map & custom shadow colour.
Repository for the shader:repo (Github)
Update: Currently supports single Directional Light (i.e. correct light color & intensity blending).
TCP2 is also used here. TCP2 has a group of robust stylized shaders that can achieve common anime npr looks.
Animation Workflow
– Character animation migration:
Use FaceAndLips to create facial animations → In MMD, compose animations, create eye animations,export vmd → In blender2.9 (with Cats plugin) import pmx and vmd,build and bake physics,export fbx → import fbx to Unity.
For Unity Humanoid animations, use blender2.9 (with Cats plugin) to convert MMD pmx models to fbx,import to Unity and set Rig to be Humanoid. Realtime physics can be created with Magica Cloth.
– Camera animation:
Camera animations can be directly created in Timeline.
These methods can be useful:
1. Cinemachine vcams
2. Keyframing in record mode
Align With View (Ctrl + Shift + F) can align camera to scene view.
Align View to Selected (Custom hotkey) can align scene view with camera.
Scene
Screencap video is used as background. This is achieved by material with render texture that receives input from Video Player.
Unity Default Playables allows Timeline to handle Video Player tracks.
Curved Plane helps give a 3D feeling to the background, but it is only visible in play mode.
When using media as background, shadows on transparent ground can be achieved using this shader。

